Hand Mods SKX & 5KX – Changing hands or dials requires the hands to be removed and re-fitted. This is one of the hardest tasks a modder will undertake. Fitting hands can take a lot of time and lots of patience to develop a good technique. It may not be something you will be able to do right away so practice on something other than your favourite watch dial, or with your new products.
Fortunately, hands are relatively reasonably priced. I am sure you can afford to break a few of these on your journey to becoming a proficient Seiko modder. The hands for both the SKX and the 5KX’s movements are the same. More details on the movements are available in the movement section of the guide.
The market is awash with all different styles of hands and lume. Mercedes, Snowflake, Marine Master to mention but a few options. You get what you pay for. If you are looking for bright lume seikomodder.com recommends you look for C3 lume if you want green, or BGW9 if you want blue. These are guaranteed to be super bright with a long lasting lume. If you go for cheaper alternatives you may find yourself disappointed with the brightness or how quickly it fades, not to mention it matching the lume on the dial.
Removing – Hand Mods SKX & 5KX
To modify the original hands, or change the hands on your chosen watch to mod, you will need to have uncased the movement, dial and hands from the watch case. Removing hands can be easy with the right technique. There are a number of different tools for removing hands. Covered below are the Presto and two-handed hand removers.
Tools & Consumables
- Hand Removers – both Presto & two-handed removers covered
- Dial Protector and/or Transparent Plastic
- Movement Holder
- Tweezers
- Rodico
- Storage Containers
Presto Tool
The first method is with the Presto hand remover, which is a nifty little tool. It can be operated with one hand. Their price and quality will vary depending on your budget, but they essentially do the same thing whichever brand or copy you choose.
You will need to set the time to 12:33, or so the hands replicate this position like 02:41. The hour and minute hand pointing in different directions. Position the hands as such makes it easy to position the tools.
Your movement, dial, and hands should be in a movement holder for this. It is recommended you slide a dial protector under the hands. This is to protect the dial from any marks when using your Presto hand remover. You may also opt for transparent plastic over the hands as this will reduce any change or damage to the hands when using the Presto tool, as well as keeping the hands all in one place once they have been removed.
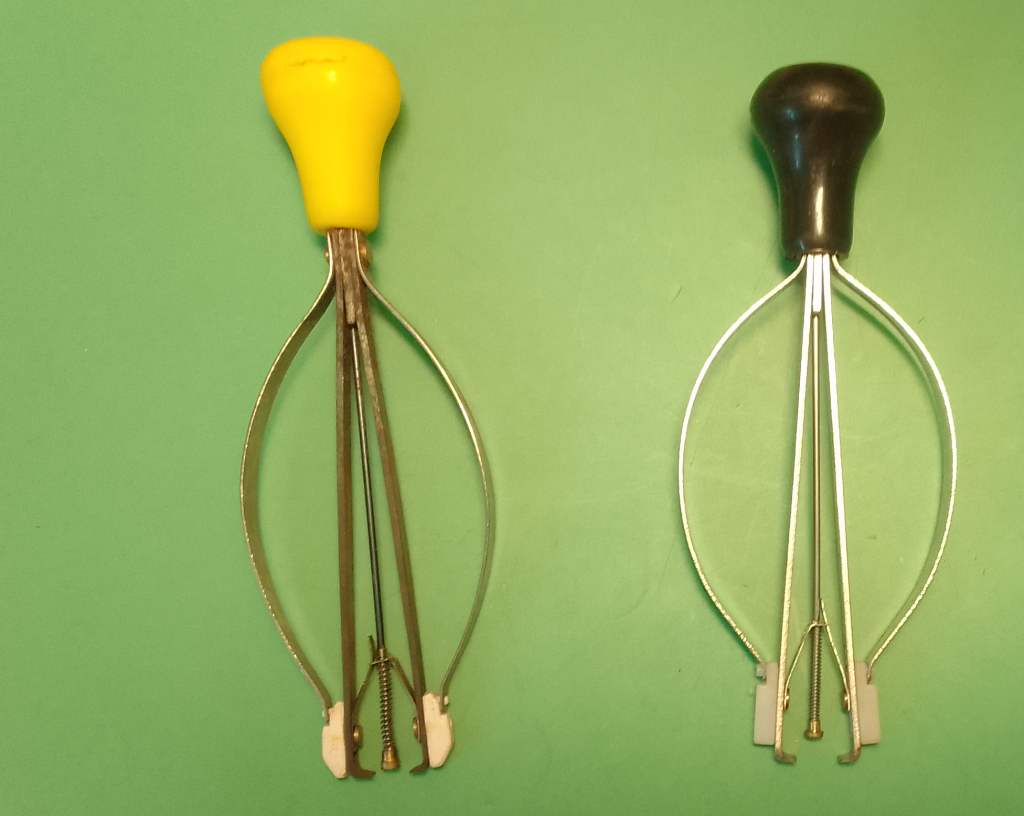
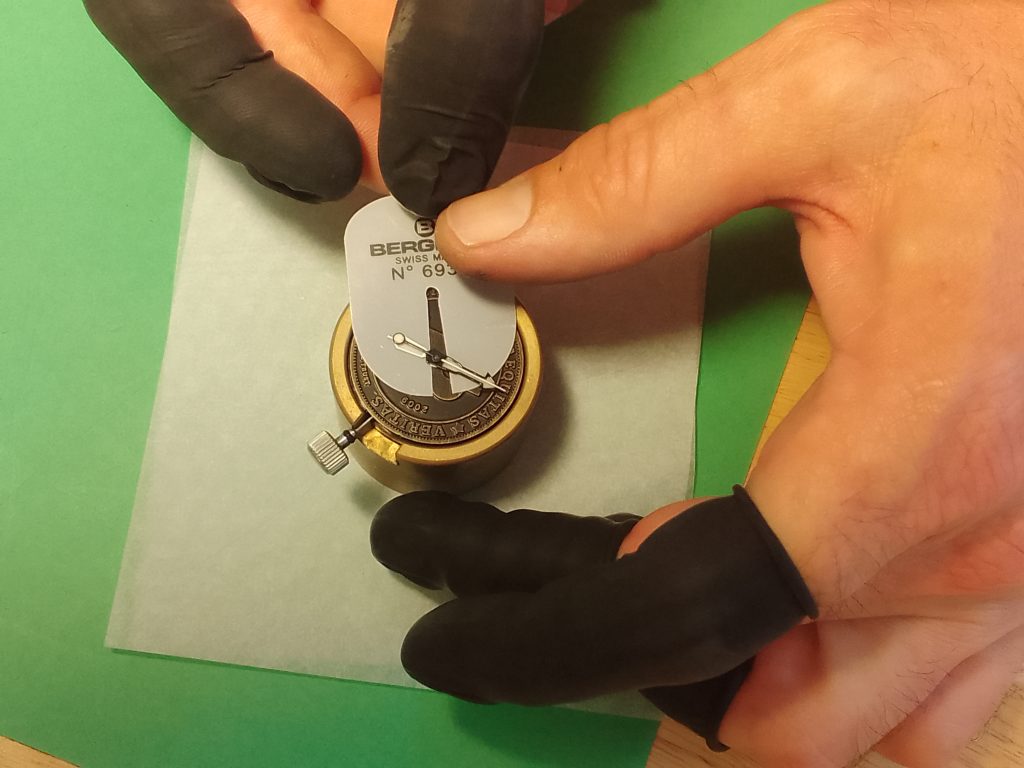
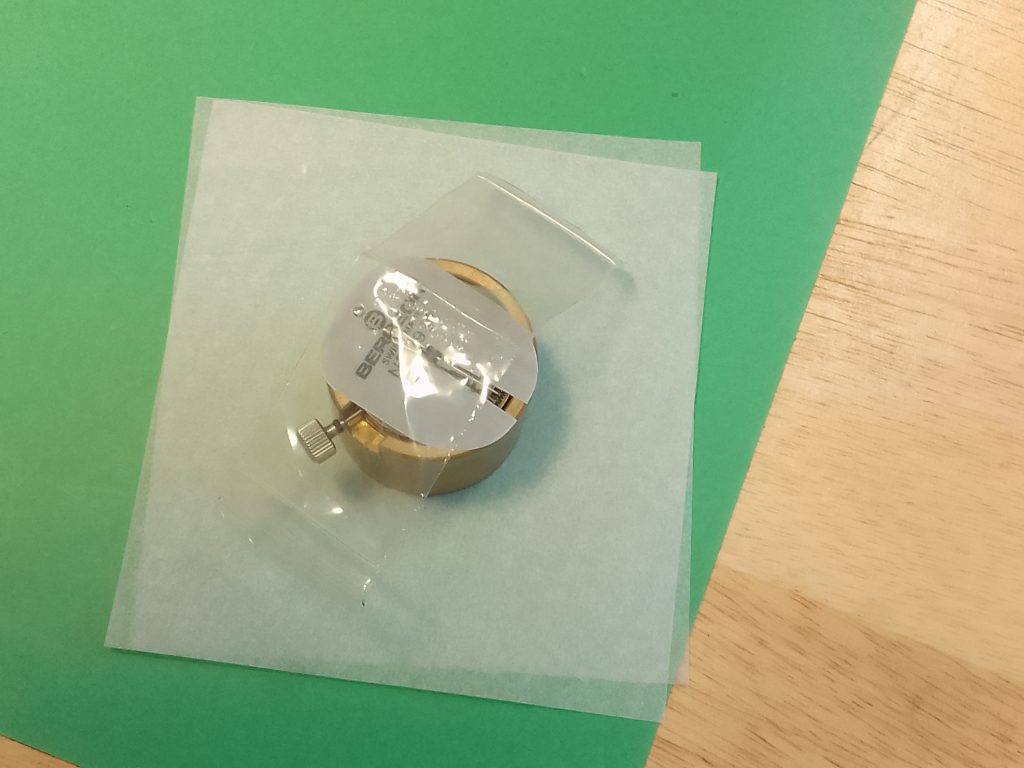
Place the Presto hand remover central over the hands with the little feet either side of the hands. You can steady the tool on top with one finger if you wish, or you can use this hand to hold the movement holder, and with the other hand you can pinch your fingers together and the hands should come away with the tool.
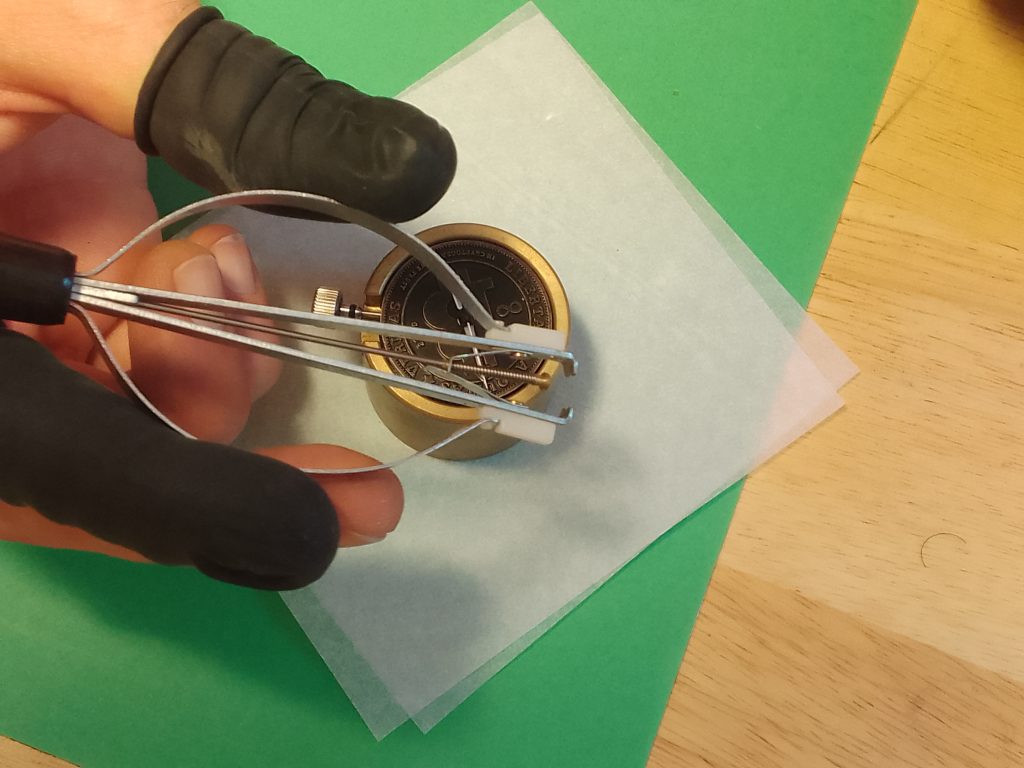
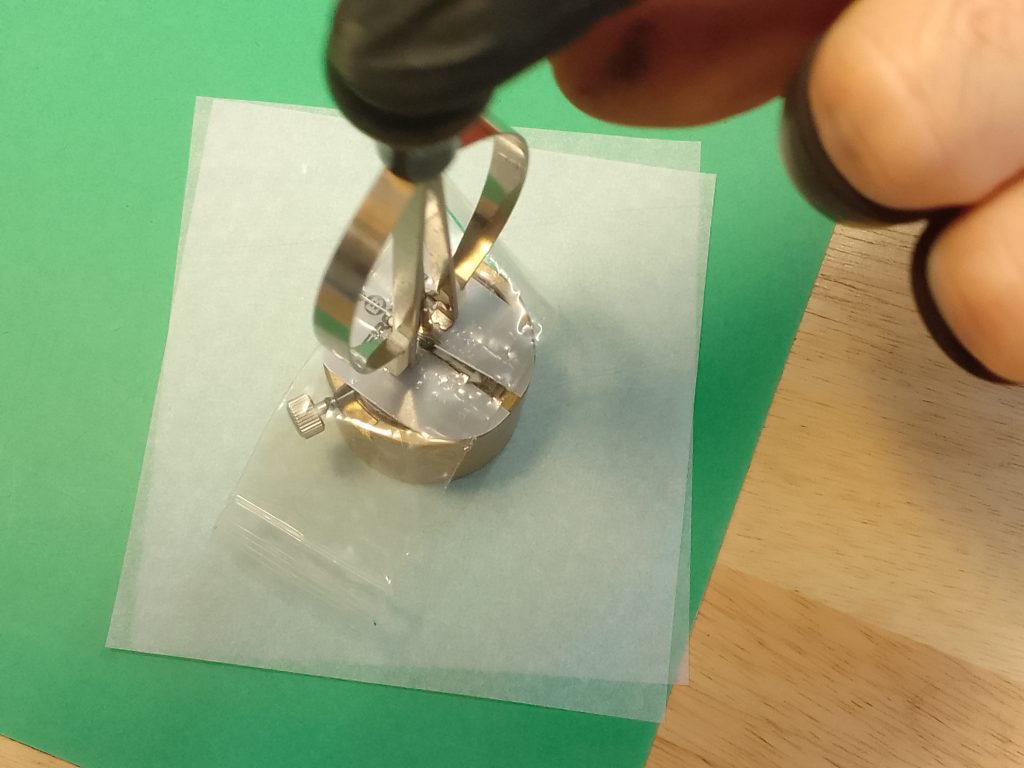
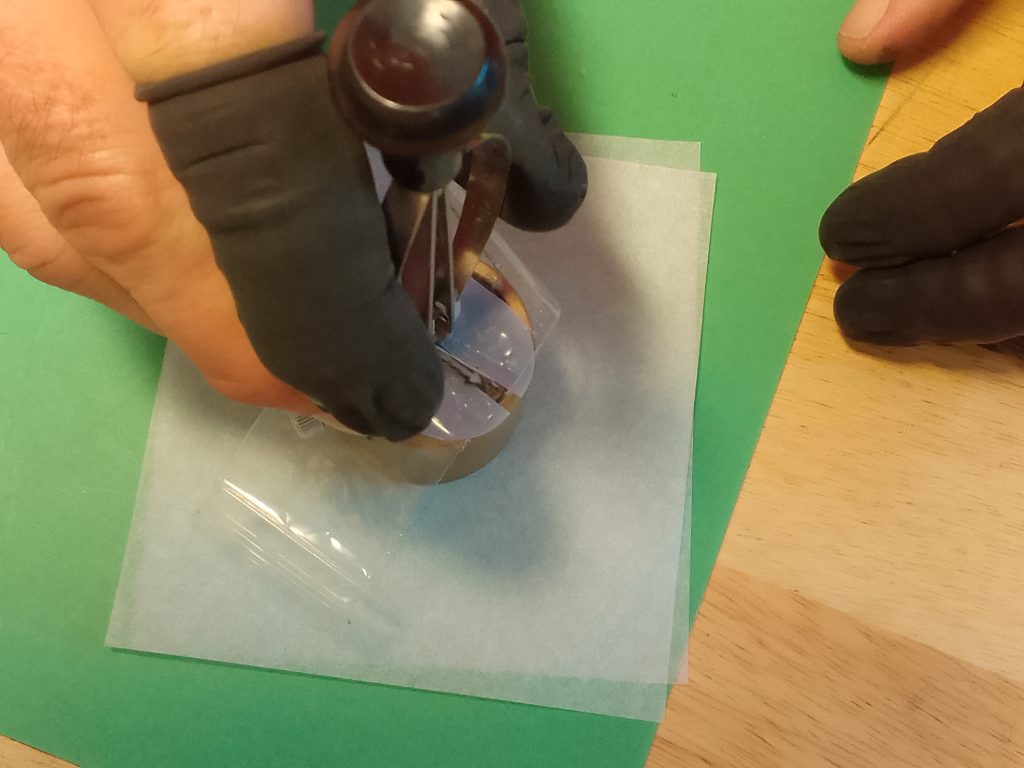

Note: SKX – 7S26 the second hand will continue to run if you have not removed the balance assembly completely or the power from the reserve. If you do remove the power reserve from the watch, line the hour and minute hand up where the second hand has stopped. To remove the power from the main reserve or the balance wheel see the movement section of the guide.
Two-Handed Tool
When using this tool you will again need to set the time as you would using the Presto hand removers. This again follows the same process of sliding a dial protector under the hands.
You should take a piece of transparent plastic sheet – a plastic zippy bag is perfect for this. Just rip it open and lay it over the dial and hands.
Looking at the tool – one side has a concave shape, this bit goes under the hands, and the other has a curved edge.
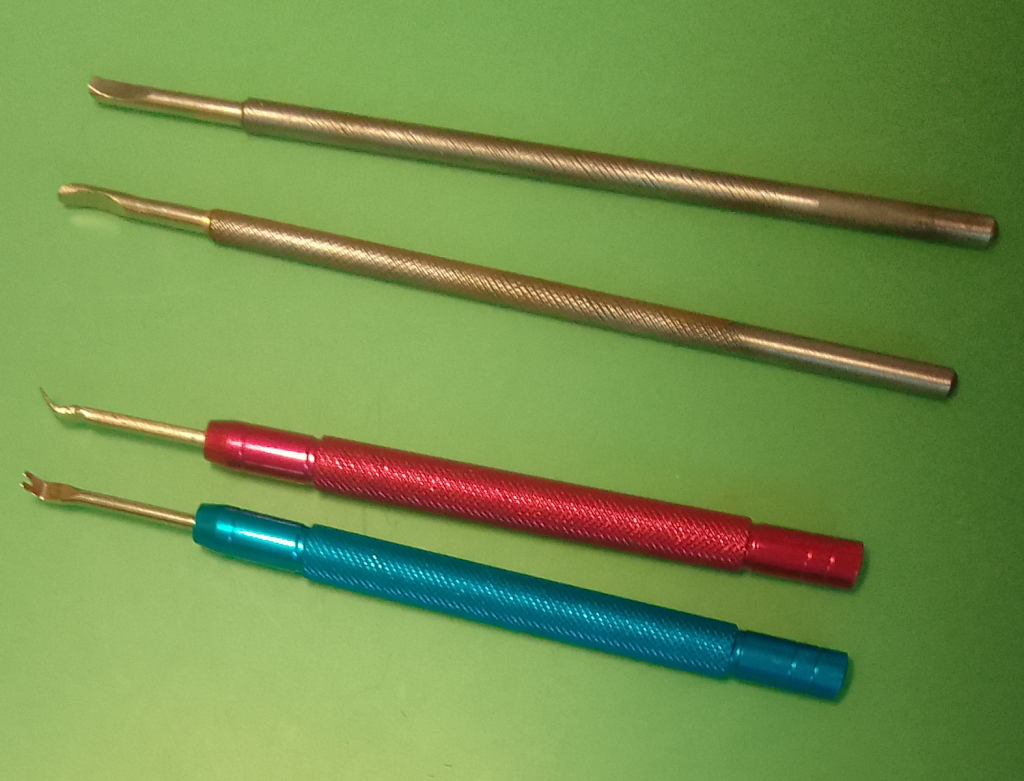
The curved edge is what is placed on the dial. You will use this shape to roll across the dial and in turn the other side pushes the hands up the pinion. This action removes the hands from the movement.
Start with your hands close together, positioned above the dial and hands. Position the removers under the hands and move your hands away from each other with a slight twist of the wrist, and the hands will come away.
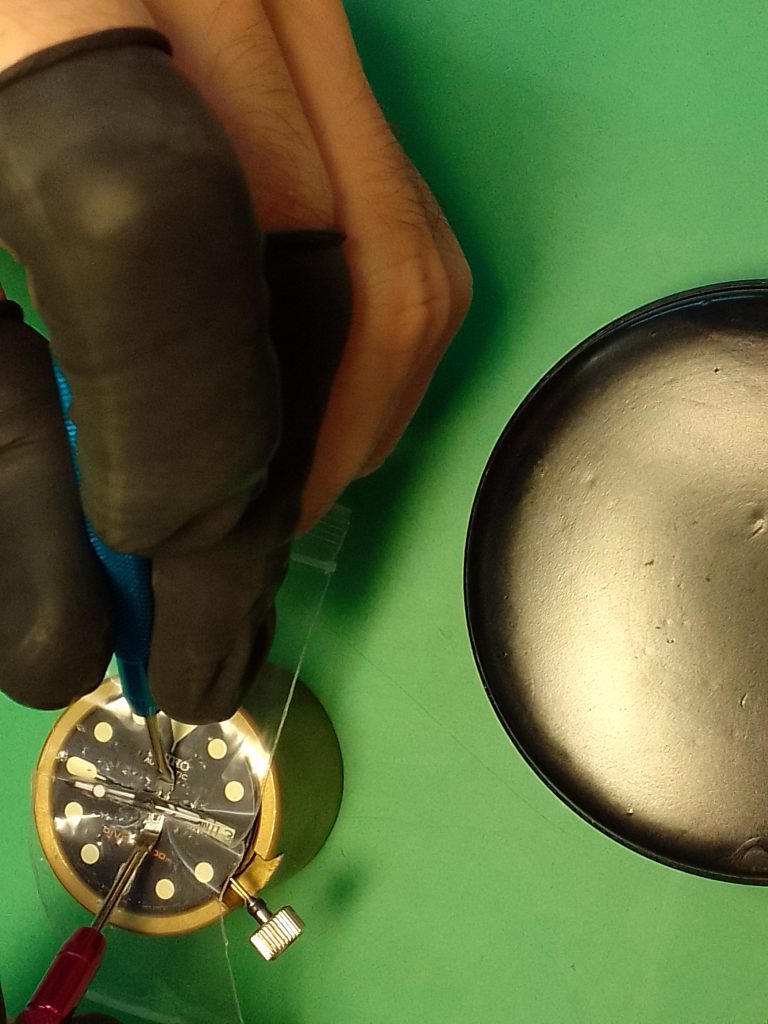
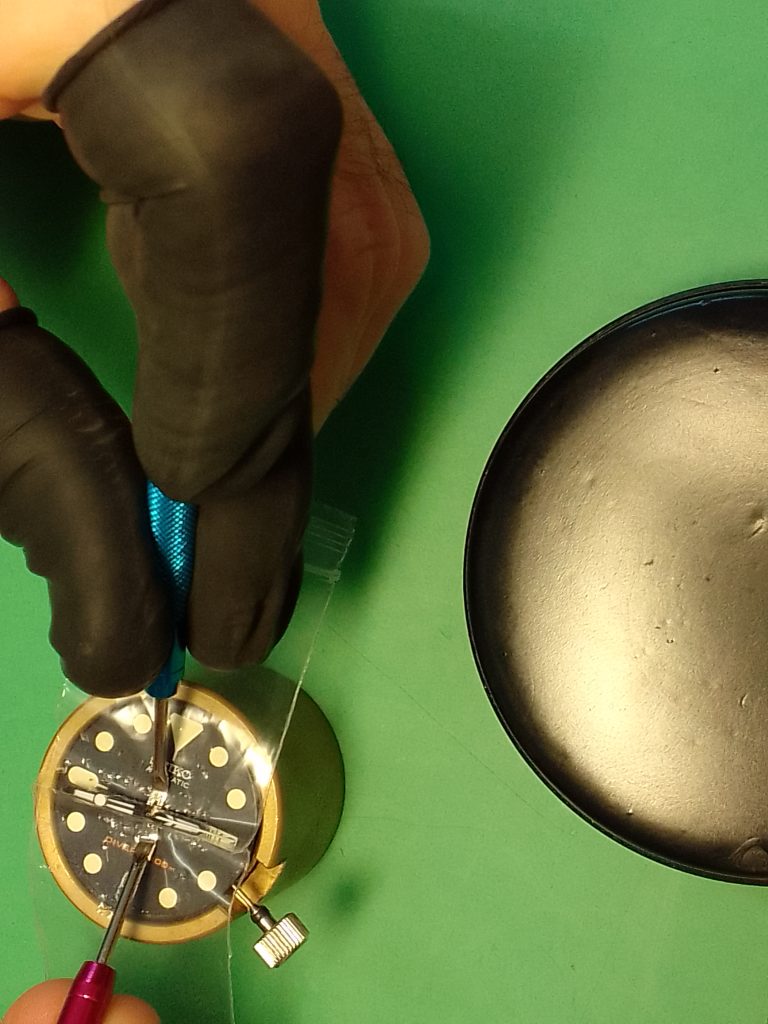
The hands will come away, the extra sheet of plastic is there to stop the hands ‘pinging’ off. So be sure to put something there to catch them.
Whatever method you choose it is important that you have a container set aside ready for your hands. They are small and delicate, so best to keep them safely stored away. Placing the hands into individual ziplock bags, or watchmaker’s paper still mitigates any damage. Placing a small piece of Rodico in your storage container and resting the hands on this will have the same effect. You can also use Rodico to pick up the hands if you are struggling with the tweezers.
Fitting – Hand Mods SKX & 5KX
Tools and Consumables
- Hand Press/es
- Rodico
- Tweezers
- Movement Holder
Fitting hands to any of the 7S family, including the NH series of movements that have a day/date or date wheel, will require you set the time before you start the process.
You will need to use the crown to wind the movement until the date changes. The date wheel will begin to slowly move at this point, so it is important to slow your wind. When the date wheel snaps to the next date position STOP winding.
If you are working with a 4R36 from the 5KX, or equivalent, then you will keep the crown in the current position pulled out to the 3rd position (time setting). If you are using a 7S26 you are in a race against time to get the hands onto the movement if you have not removed the balance assembly. The second hacking (stopping) feature is not a feature on this model of movement. Whatever movement you have the process will be the same for replacing hands.
Hopefully you will have your movement and dial ready in a movement holder. Depending on the hand press you have, you may need to change the dyes as you work on different hands.
Newbie Tip #1: Handling hands with tweezers can be a tricky business. You will have your tweezers in your preferred hand (leading hand). You can use your free hand and some Rodico to pick up the hand close to the centre hole. With the tweezers in your leading hand, you can take careful hold of the hour hand wherever you feel comfortable, but around half to three quarters of the way to the pointy end is a good position. This process is photographed for fitting the second hand in this section of guide but it can be used for all hands should you wish.
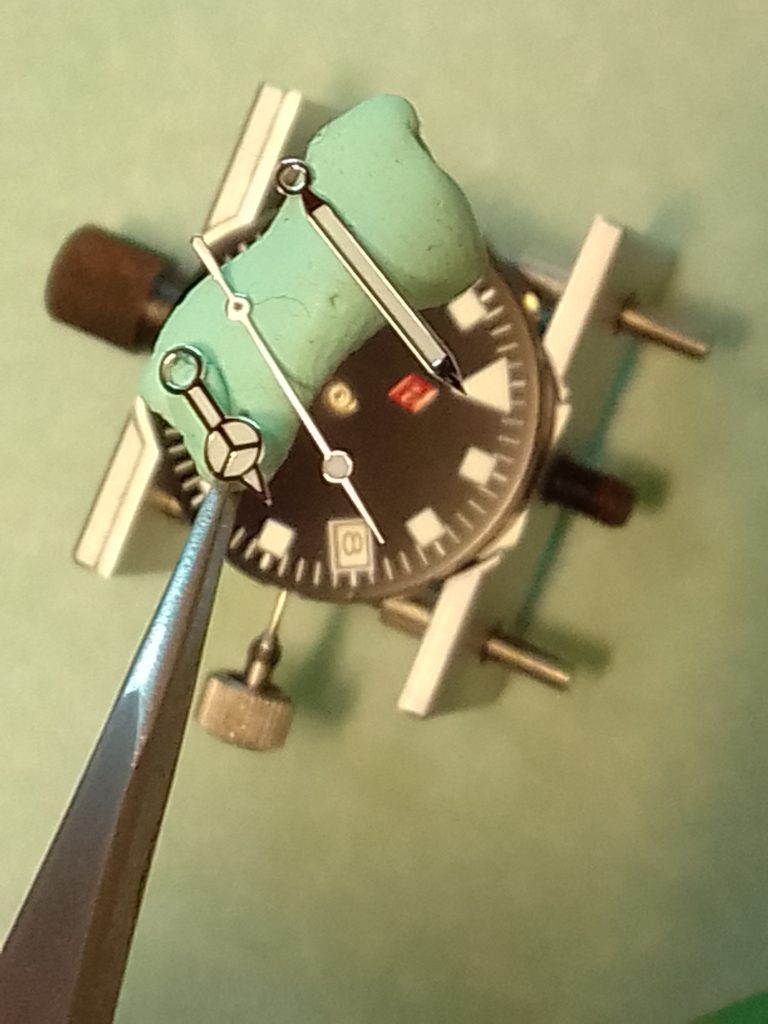
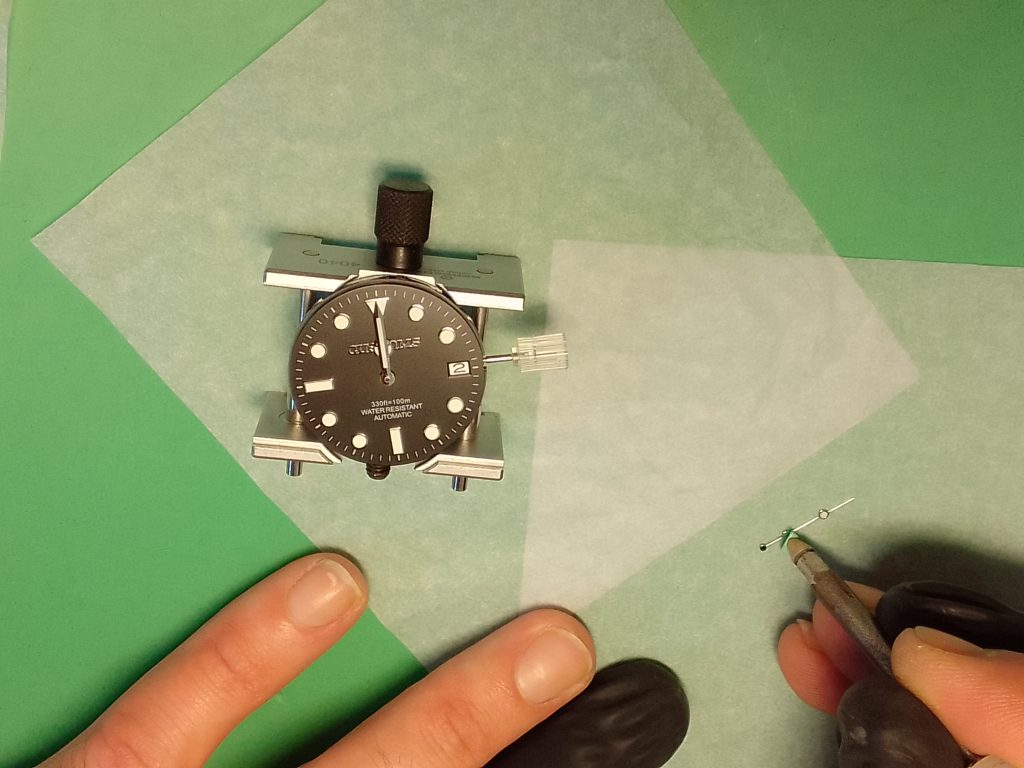
Newbie Tip #2: You can lay your hands out on some Rodico. As displayed in the photo below, you can choose to position all the hands ready to be picked at each stage of the hand setting process.
Hour Hand
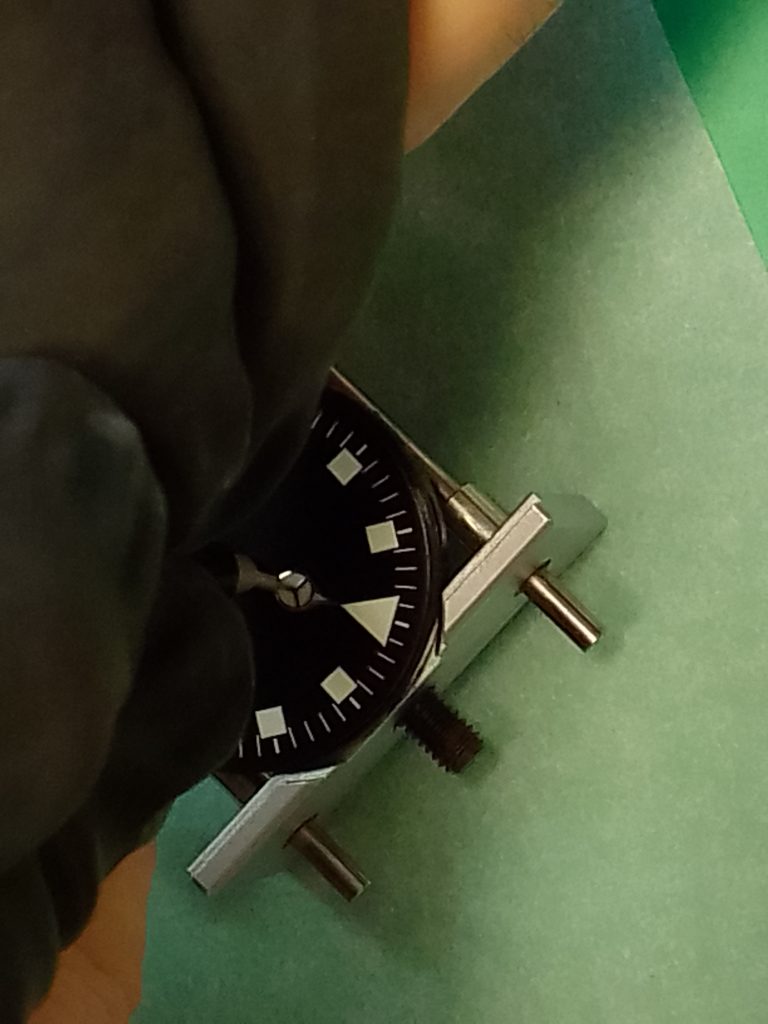
The hour hand shouldn’t give the new modder too much trouble. Handling hands requires a light grip with the tweezers. Once you are comfortable with picking up the hands, you can start to position the hands carefully at the twelve o’clock position, while ensuring the hole of the hand lines up with the hour wheel, centre of the movement. If you struggle with aligning the hand to noon, you can use a piece of pegwood to nudge the hand to the twelve position. Don’t fret, you will get better at this pretty quickly.
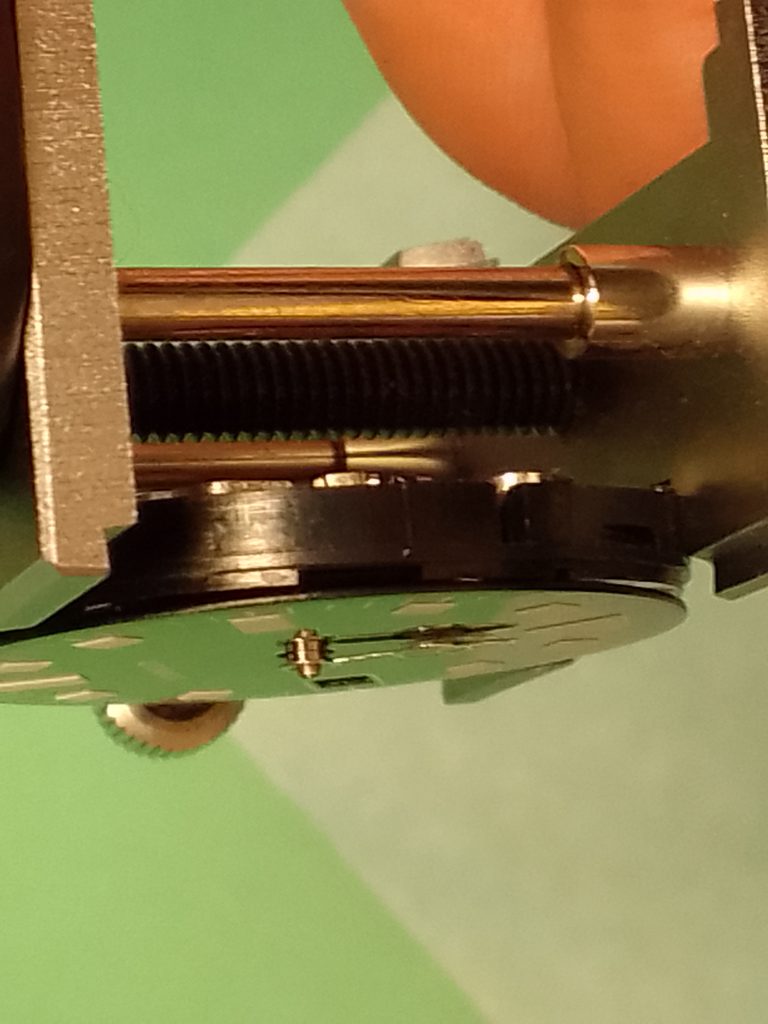
Once the hand is in position, pointing to the the twelve o’clock position, take your hand press and apply delicate but firm pressure down. The hand will slide down into position on the pinion. You will want to inspect this from a side angle to be satisfied that the hand is seated correctly on the pinion, and that it is parallel to the dial. If the hand looks like it is pointing up, down, or sitting crooked, it is best to address this now with your hand press by applying a suitable pressure with a bias to correct to the poor alignment.
Minute Hand
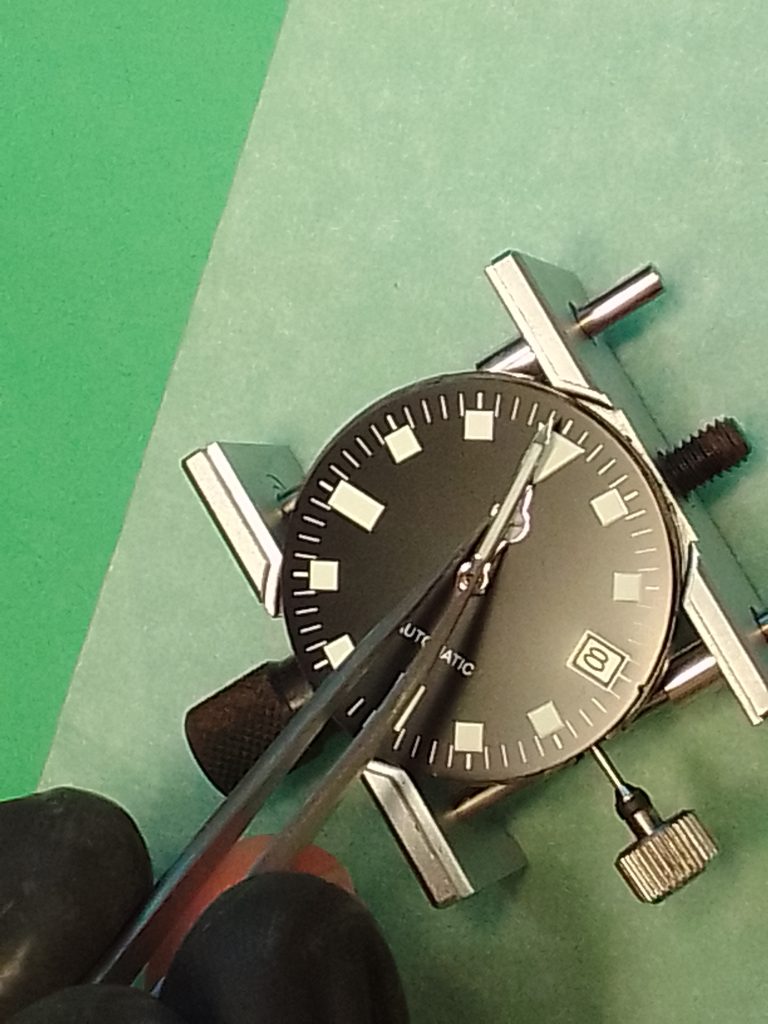
These are much the same as the hour hands. Some people like to wind the hour hand round to another hour position on the dial such as six o’clock. This is so that the hour hand is not in the way when applying the minute hand as it can slip and slide around if it lays on top of the hour hand. It is up to you if you think this is necessary. You may need to change the dye on your hand press before you begin the process, depending on your chosen tools.
With the tweezers, you are looking for a light grip of the hand. Then carefully place the hand at the noon position while ensuing the hole of the hand lines up with the pinion.
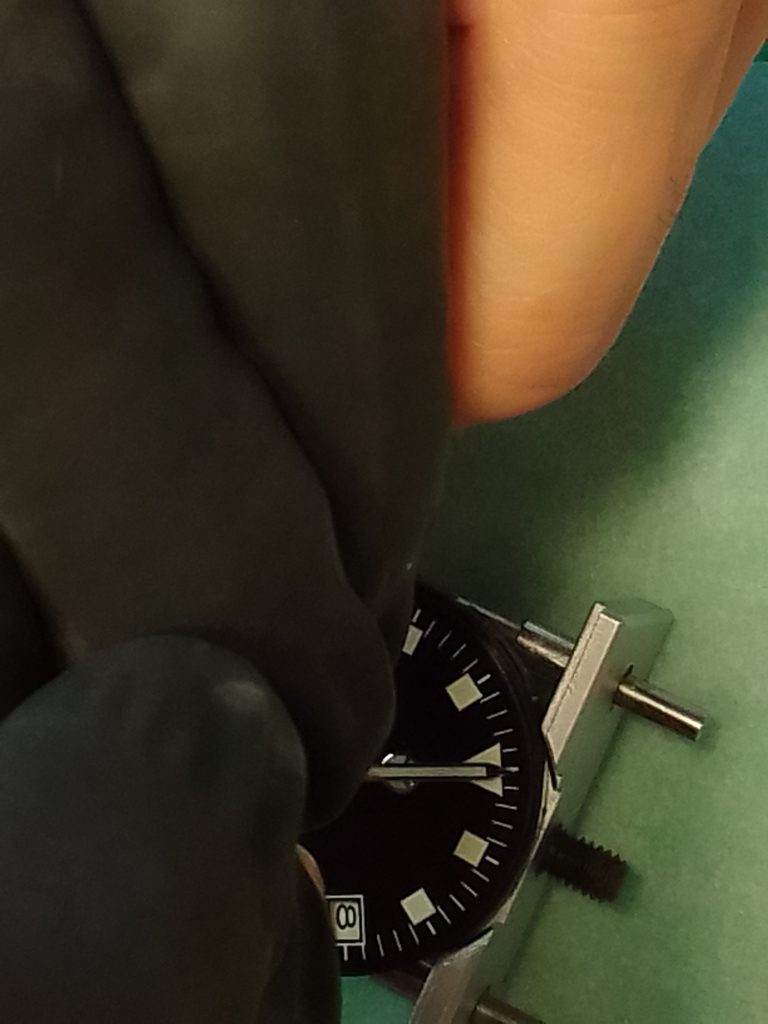
Once the hand is in position, take your hand press and apply delicate but firm pressure down. The hand will drop into position on the pinion. Again, you will want to inspect this from a side angle to be satisfied that the hand is seated correctly on the pinion. If not, you will need to address this like you did with the hour hand.
Second Hand
This you may find the most awkward of them all. The second hand is like the others, only it is mounted to the pinion of the 4th Wheel. This can be tricky because you possibly have to use both of your hands at once to mount the second hand on a pin that is only 0.2mm in diametre. Be careful not to press the hand between the cannon pinion (where the minute hand is mounted) and the 4th wheel.
You may want to change the dye on your hand press before you begin. You will need to find which hands you are most comfortable holding the press and the tweezers in. Use your leading hand to hold the tweezers, and other to hold the dye. If you’re right handed, your tweezers may want to be in your right hand.
Like with the other hands, you may find it easier to lift the hand with Rodico before you take it in your tweezers, as photographed below.
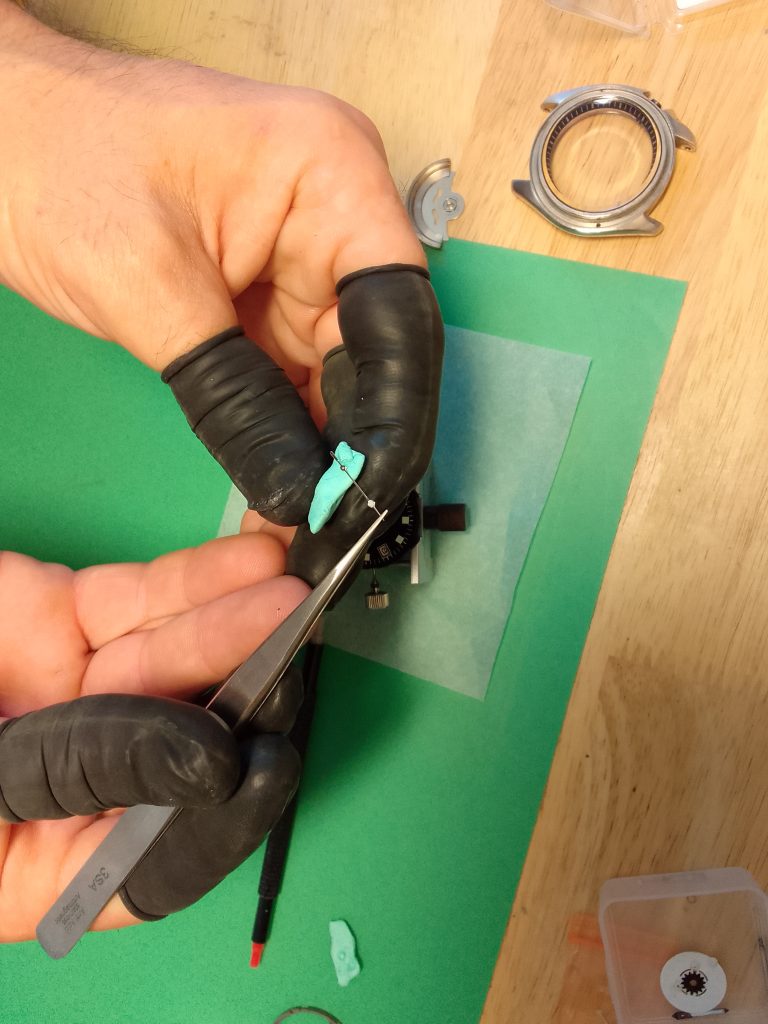
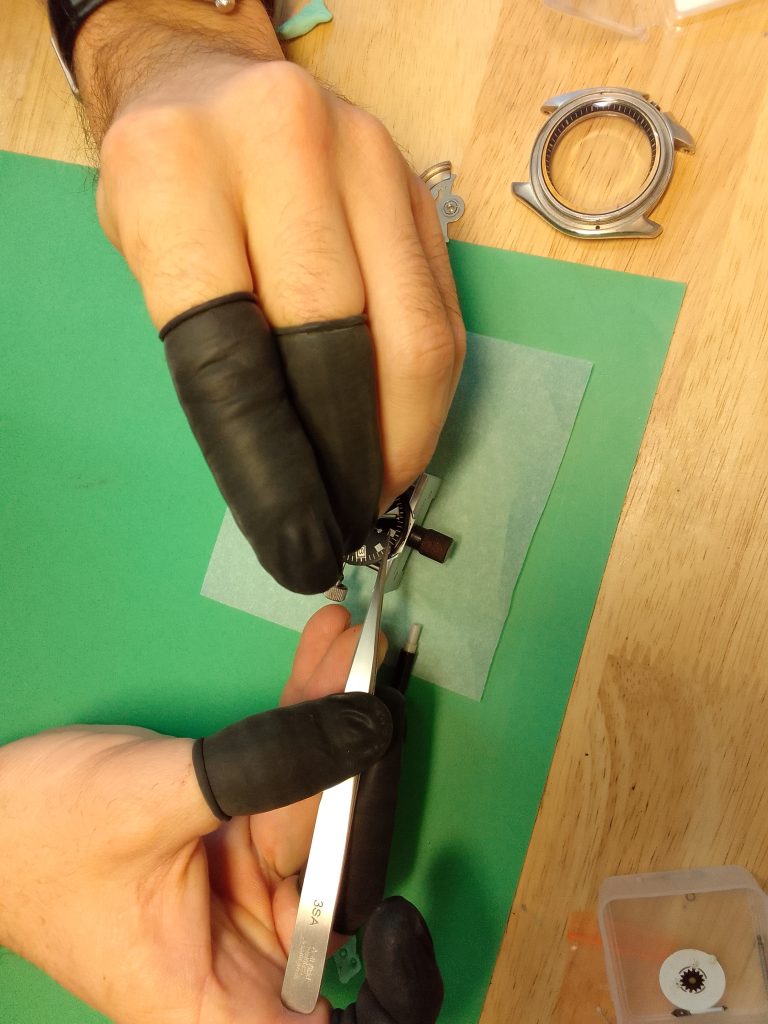
Take the second hand in your tweezers, and your press in your hand that is either free, or still holding the Rodico. Don’t forget to put the Rodico down if you are still holding this. Position the second hand over the centre of the dial and line up the pin. Once you are happy, you can use the press to press the hand into position. Be sure to not bend the hand while you are pressing – you will need to practice moving the tweezers away as you press down with the hand press.
Note: Be careful when you are removing your tweezers and when you are pressing the hands that you don’t slip and scratch the dial.
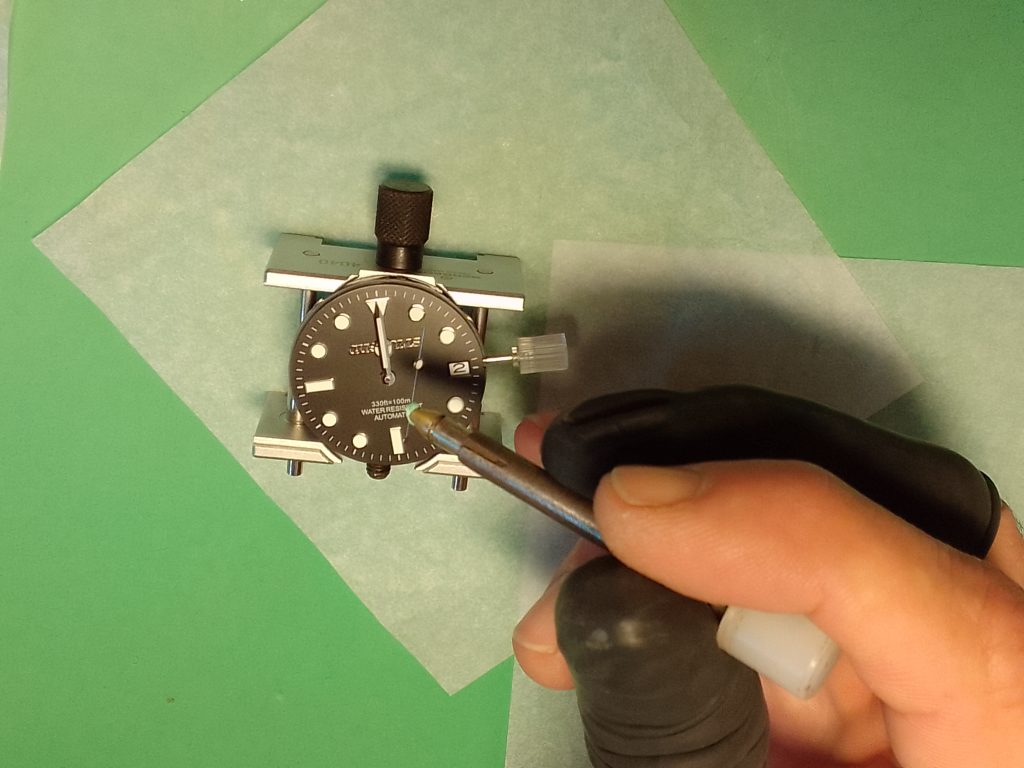
Community Tip: Set your second hand on the bench, or watch cushion, so that it’s the right way up if it were fitted to the watch. Take your second hand press and put a small piece of Rodico on the tip. Once you have some Rodico on the end of the press, place the tool over the mounting position of your second hand and press gently with the tool and this should attach it to the pinion. You may need to remove the Rodico from the second hand as it may stay in place when the tool is lifted away.
(Community tips are submitted by the community, submit your tips and they will be added to the Guide)

Final Checks
If you have successfully fitted the second hand to your Seiko movement, you will want to check the alignment. Second hands can bend if one has applied too much pressure when fitting. This can be rectified by placing the tweezers under the second hand and lifting it a little, careful you don’t go too far as this may cause problems later, binding up against the crystal (glass) or worse, the hand may bend far more than intended.
Confident now that your hands are all set correctly, checking the hands are operational is good practice. You may want to wind the hands on twenty four hours to check the hands are set and move correctly. It will be very obvious at this point if any of the hands are not seated correctly. It is up to you if you can live with the wonky hands? But you may want to have another go as it is good practice… and practice makes perfect.
If you’ve found this guide helpful, be sure to explore our collection of other informative guides at seikomodder.com. We offer a wealth of resources to assist you in your modding journey. We’re here to support your passion for watch modification.
Useful Information
Sizes: Hand’s holes for all of the 7S family and other NH movements measure 150/90/20
Hour – 150
Minute – 90
Second – 0.20
Length of hands may vary but most hands are suitable for standard Seiko dials that fit the SKX & 5KX.
Typical Dial Sizes: 28.5mm, but 28mm will fit.
Procuring a Seiko 5KX
Seiko have lots of options in the 5KX range a link to the collection can be found here.
0 Comments